第四节 前台视图层建立
上一节我们在控制台中显示了Hello World,接下来我们将让Hello world显示在我们的前台界面中。
显示hello world!
我们先来修改一下 main.html 中的代码。
将<h1></h1> 标签中的内容换掉。
<h1>{{helloWorld}}</h1>

然后我们看一下我们界面有什么变化。
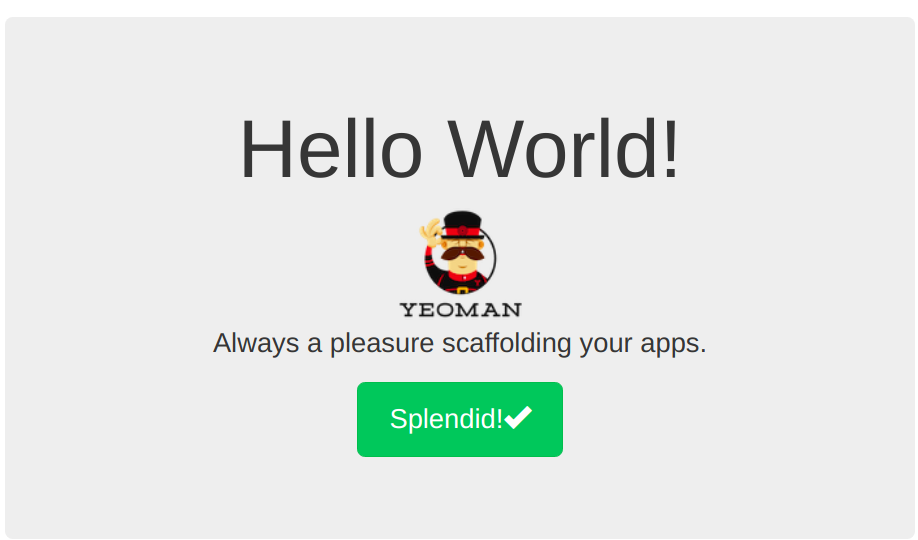
可以看到,我们想要的 Hello World! 已经显示出来了。
数据绑定
在 angularjs 中,我们通常会在 view 层使用双花括号: {{}} 来绑定 $scope 上的变量。也就是说{{helloWorld}}中的 helloWorld ,会自动的赋值为 main.js 中 $scope.helloworld 的值。
main.js
angular.module('testApp')
  .controller('MainCtrl', function($scope) {
    $scope.helloWorld = 'Hello World!';
    $scope.hi = $scope.helloWorld + ' Hi!';
    console.log($scope.helloWorld);
  });
main.html
<h1>{{helloWorld}}</h1>
<h1>{{hi}}</h1>
我们又定义了一个变量 $scope.hi ,将 $scope.helloWorld 的值后面添加上了 Hi ,然后赋值给 $scope.hi。同时在V层进行一下数据绑定。再看看我们的界面有什么变化。
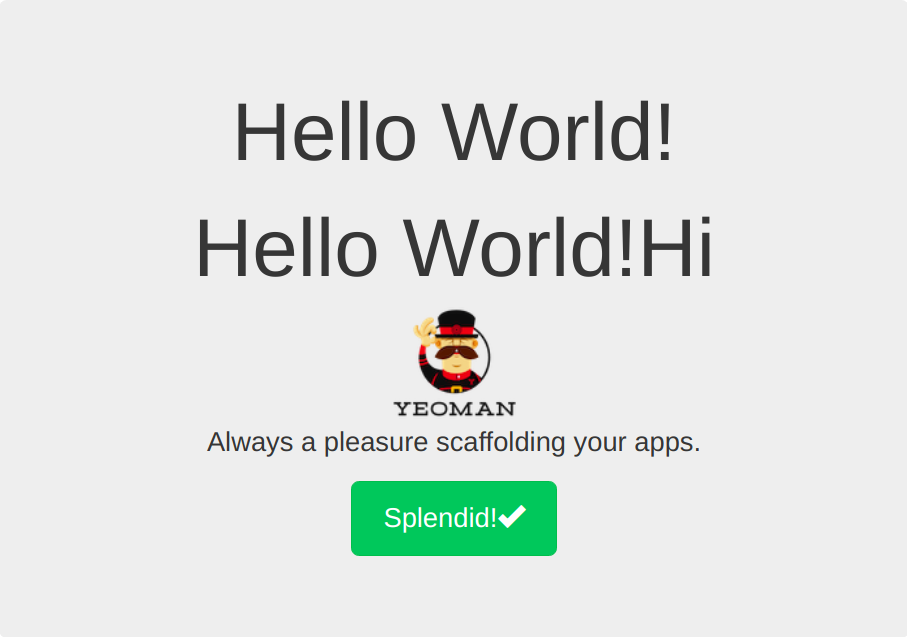
可以看到,又多了一行 Hello World! Hi 。
注意: 时刻记得看控制台及shell,如果有出现 error ,对照一下代码,看看是哪块写错了。
双向数据绑定
双向数据绑定 是 Angularjs 的核心之一。
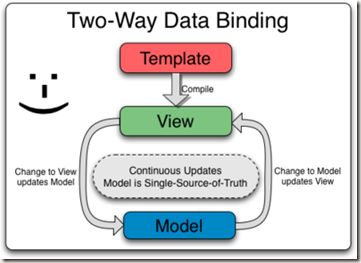
所谓双向数据绑定,简单来说就是 main.html(v层) 做了一个修改,它会自动同步在 main.js(c层) 中,同样的,main.js(c层) 有了变化,也会自动同步到 main.html(v层) 中去。上代码。
main.html
<div class="jumbotron">
  <h1>{{helloWorld}}</h1>
  <h1>{{hi}}</h1>
  <p class="lead">
    <img src="images/yeoman.png" alt="I'm Yeoman"><br>
    Always a pleasure scaffolding your apps.
    <!--视图层实现双向数据绑定用'ng-model'-->
    <input type="text" ng-model="helloWorld" >
  </p>
  <p><a class="btn btn-lg btn-success" ng-href="#/">Splendid!<span class="glyphicon glyphicon-ok"></span></a></p>
</div>
我们在视图层又添加了一个 input 输入框,用 ng-model 来绑定变量 helloWorld。
<input type="text" ng-model="helloWorld" > 使我们可以在 main.html(V层) 中改变这个变量的值,当它发生变化时,会实时传给 main.js(C层) 中的 $scope 的 helloWorld。这时, main.js 发现 $scope 的 helloWorld 改变了,就会立即通知 main.html(V层)
的 {{helloWorld}}。所以,数据传递变化的顺序是:V层(<input type="text" ng-model="helloWorld" > )->C层($scope 的 helloWorld)->V层({{helloWorld}})。即 V->C->V 的顺序。
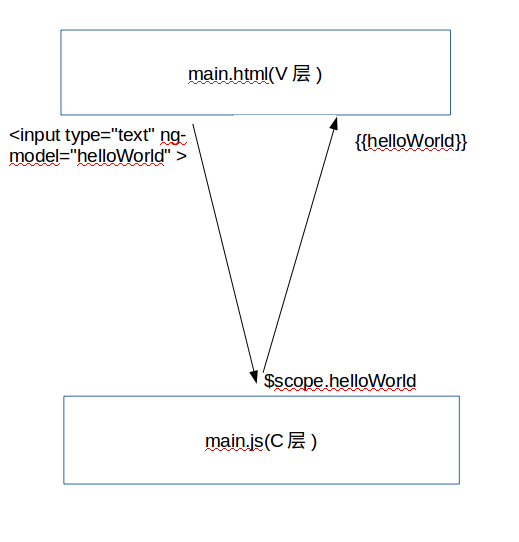
我们把这种V层实时传递数据给C层,C层同时又实时地将数据传递给V层的现象叫做 双向数据绑定。

可以看到,我们在输入框中改变了 Hello World! ,相应的,上面的 Hello World! 也随之改变。
双向数据绑定让我们只用进行一次绑定,而无需关心C层的变化。我们用了一份的精力,却完成了原来的两项工作。就这就是双向数据绑定的神奇之处。
官方
查看示例代码
打开终端,输入命令:
git checkout -f 2.4

官方参考文档: https://docs.angularjs.org/api/ng/directive/ngBind
https://docs.angularjs.org/guide/databinding
作者:朴世超