页面跳转
我们的新增页面已经做好了,接下来就是将新增界面与前面展示所有人信息的页面串起来,通过点击按钮实现页面间的跳转。
展示到新增
打开main.html,在里面添加一个按钮,用来实现从所有人信息页面跳转到新增界面。
<a class="btn btn-primary" href="#!/teacher/create">新增</a>
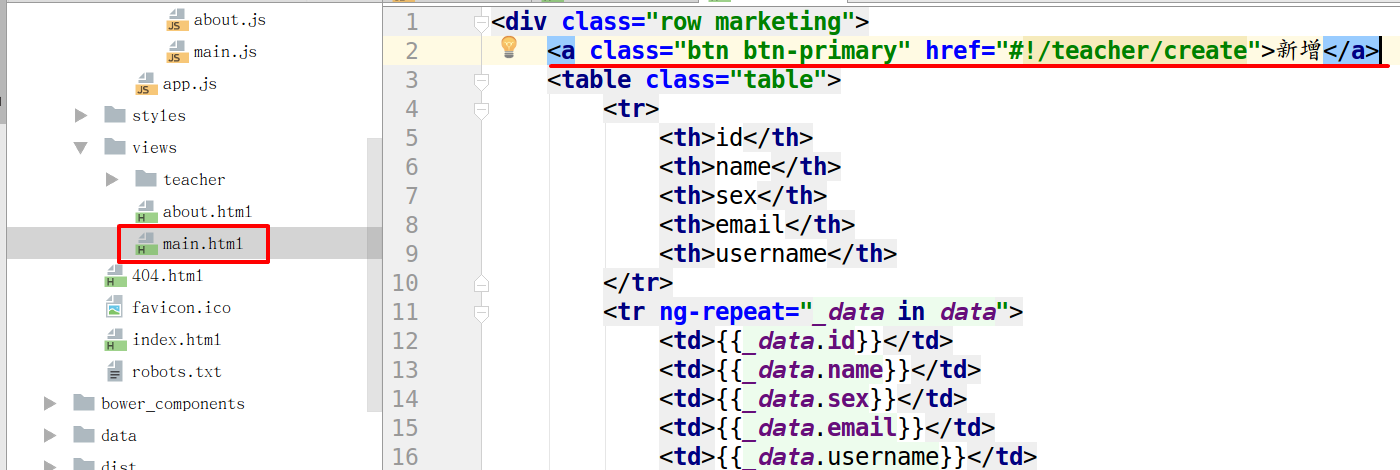
我们用了一个 <a></a> 标签,然后添加新增界面的路径。打开浏览器。
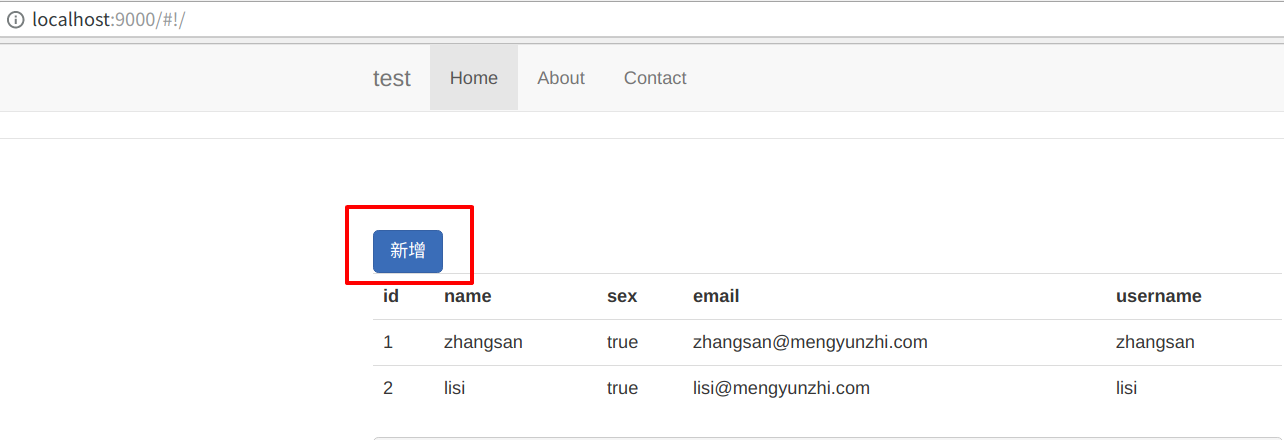
左上角多了一个 新增 按钮。点击一下新增按钮。
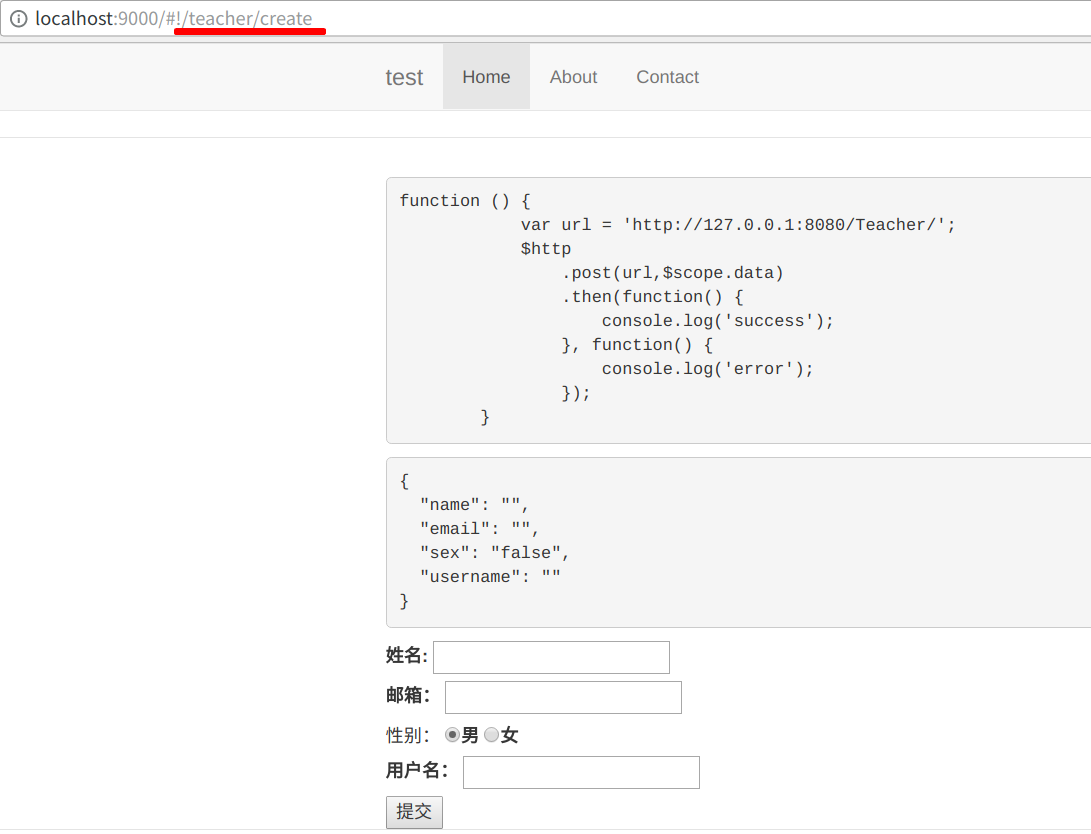
ok,跳转成功!
保存成功跳转
添加成功后,我们需要在点击 提交 时跳转回原来的界面。
由于在点击提交时,会触发 submit() 函数,所以,我们需要在 controller 中的 submit 函数中实现跳转。
打开 create.js。这里我们需要用到$location来帮助我们实现跳转。注入一下。
...
angular.module('testApp')
    .controller('TeacherCreateCtrl', function($scope, $http, $location) {
        $scope.data = {
            name: '',
            email: '',
            sex: 'false',
            username: ''
        };
        ...
$location 和 $scope还有$http一样,都是Angualrjs为我们封装好的对象,我们只需要在用的时候注入一下。打印一下$location。
...
$scope.submit = function() {
            var url = 'http://127.0.0.1:8080/Teacher/';
            $http
                .post(url,$scope.data)
                .then(function() {
                    console.log('success');
                    console.log($location);
                }, function() {
                    console.log('error');
                });
        };
...
点击提交,打开控制台。
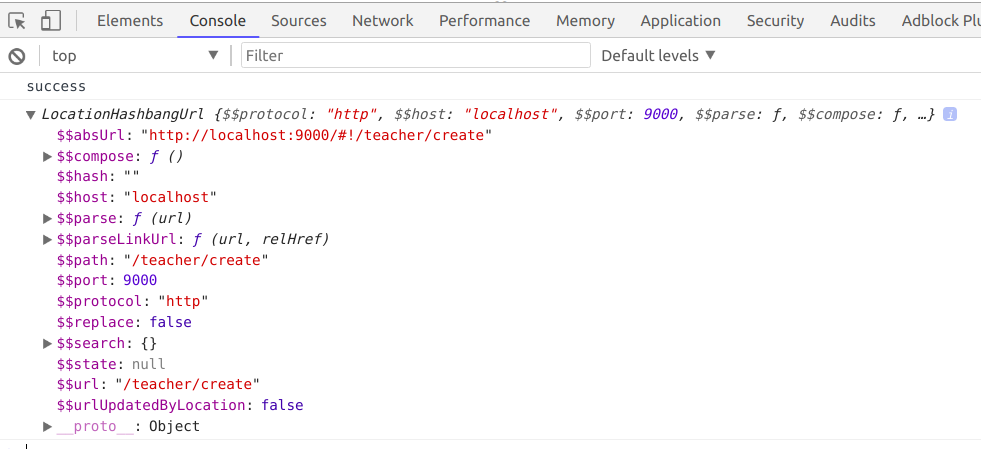
可以看到 $location 这个对象上绑定了协议,主机,端口号,方法等信息。当然,它还绑定了很多方法。下面我们用它的path()方法来实现url的改变。
...
$scope.submit = function() {
            var url = 'http://127.0.0.1:8080/Teacher/';
            $http
                .post(url,$scope.data)
                .then(function() {
                    console.log('success');
                    console.log($location);
                    $location.path('/');
                }, function() {
                    console.log('error');
                });
        };
...
测试一下。将表单信息填写完,点击提交。
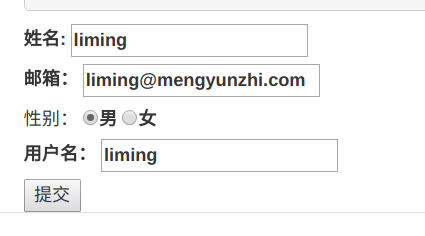

跳转成功,数据也成功保存。
去除Debug信息
前面我们写了好多帮助我们理解代码执行过程的代码,现在我们将它们都去掉。最终代码如下:
create.html
<form ng-submit="submit()">
    <label>姓名:
        <input type="text" name="name" ng-model="data.name"/>
    </label>
    <br>
    <label>邮箱:
        <input type="email" name="email" ng-model="data.email">
    </label>
    <br> 性别:
    <label>
        <input type="radio" name="sex" value="false" ng-model="data.sex">男</label>
    <label>
        <input type="radio" name="sex" value="true" ng-model="data.sex">女</label>
    <br>
    <label>用户名:
        <input type="text" name="username" ng-model="data.username">
    </label>
    <br>
    <button>提交</button>
</form>
create.js
'use strict';

/**
 * @ngdoc function
 * @name testApp.controller:TeacherCreateCtrl
 * @description
 * # TeacherCreateCtrl
 * Controller of the testApp
 */
angular.module('testApp')
    .controller('TeacherCreateCtrl', function($scope, $http, $location) {
        $scope.data = {
            name: '',
            email: '',
            sex: 'false',
            username: ''
        };

        $scope.submit = function() {
            var url = 'http://127.0.0.1:8080/Teacher/';
            $http
                .post(url,$scope.data)
                .then(function() {
                    console.log('success');
                    $location.path('/');
                }, function() {
                    console.log('error');
                });
        };

    });
到此为止,新增功能就全部写完了。
官方参考资料:https://docs.angularjs.org/api/ng/service/$location
作者:朴世超