3.3.1 建立前台v层路由
本章我们要实现学生信息的添加功能,为此在前台我们要新建一个视图和控制器实现我们的信息添加,当然为了能通过URL找到我们的视图,我们要建立一个路由,然后将界面的c层与v层的信息加入其中。这样我们就能通过URL访问到相应的视图和控制器。本节中我们主要讲一下如何为视图配置路由。
我们的路由配置文件为app.js,文件所在路径为webapp/app/scripts/app.js,部分代码如下:
.config(function ($routeProvider) {
    $routeProvider
      .when('/', {
        templateUrl: 'views/main.html',
        controller: 'MainCtrl',
        controllerAs: 'main'
      })
      .when('/about', {
        templateUrl: 'views/about.html',
        controller: 'AboutCtrl',
        controllerAs: 'about'
      })
      .otherwise({
        redirectTo: '/'
      });
  });
$routeProvider用来定义路由表,我们会用到里面的when和otherwise两个方法。在本节中我们主要讲when方法,然后用when方法创建一个我们自己的路由。
when方法能够接收两个参数,第一个参数是路由路径,这个路径会与URL中的值进行匹配,如果没有任何一个when方法匹配到,那么将会执行otherwise方法。第二个参数是配置对象,在这里我们用到了templateUrl这个参数。
templateUrl 的值是视图的路径,AngularJS会拿该路径下的html模板来渲染。
下面我们来新建一个视图并为它配置路由:
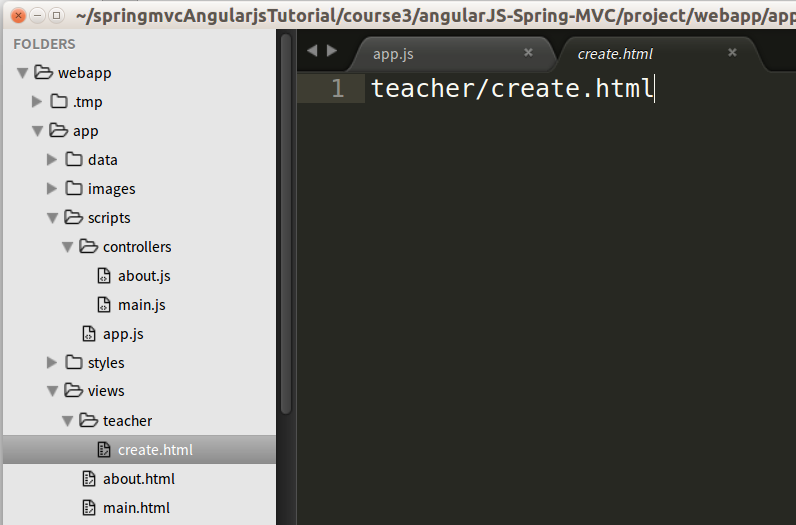
在views文件夹下建一个teacher文件夹,在teacher夹下创建我们的视图文件create.html并写入teacher/create.html如下图。

下面为我们新加的界面配置路由信息。 通常代码的书写顺序为:
1.先写一个when方法
.when()
2.为when方法添加两个参数,第一个参数为路由路径,第二个参数为配置对象,在配置对象中通过参数templateUrl写入视图的路径。
.when('/teacher/create', { templateUrl: 'views/teacher/create.html' })
将上面的代码加入到路由配置文件app.js中后代码如下。
.when('/', {
        templateUrl: 'views/main.html',
        controller: 'MainCtrl',
        controllerAs: 'main'
      })
      .when('/about', {
        templateUrl: 'views/about.html',
        controller: 'AboutCtrl',
        controllerAs: 'about'
      })
      .when('/teacher/create', {
        templateUrl: 'views/teacher/create.html'
      })
      .otherwise({
        redirectTo: '/'
      });
测试
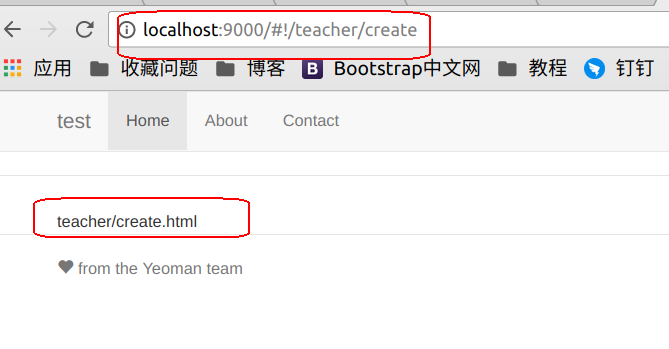
在地址栏中输入我们新建的url信息http://localhost:9000/#!/teacher/create,看我们显示的信息是否是我们在create.html中写入的信息。

如图则表示我们的路由添加成功。
作者:朱晨澍