第五节 angularjs 模拟数据请求
本节我们来介绍angularjs如何发起http请求, 以获取一个http资源
为了要获取到数据,我们要建立数据,下面开始我们的工作,
首先在app目录下创建data文件夹,在data文件夹中建立helloWorld.txt,里面写入Hello World Yunzhi!

现在我们有了数据了就要开始数据请求,我们通过$http来请求数据,$http是 AngularJS中的一个核心服务,用于读取远程服务器的数据。
以$开头的服务,都是angulajs的自带服务。
在书写代码时,先书写
$http.get().then();方法,get获取请求地址,then发起请求,读取远程服务器的数据angular.module('testApp') .controller('MainCtrl', function($scope, $http) { var url = 'http://localhost:9000/data/helloWorld.txt'; // http请求的地址 $http.get(url).then(); });然后再定义请求成功后执行
var success = function() {};函数,请求失败后执行var error = function() {};函 数angular.module('testApp') .controller('MainCtrl', function($scope, $http) { var url = 'http://localhost:9000/data/helloWorld.txt'; // http请求的地址 // 请求成功执行代码 var success = function() { console.info('print success response'); }; // 请求失败执行代码 var error = function() { console.error('$http -> ' + url + ' error.'); }; $http.get(url).then(); });然后再将
success和error放入then中$http.get().then(success, error);。angular.module('testApp') .controller('MainCtrl', function($scope, $http) { var url = 'http://localhost:9000/data/helloWorld.txt'; // http请求的地址 // 请求成功执行代码 var success = function(response) { console.info('print success response', response); }; // 请求失败执行代码 var error = function(response) { console.error('$http -> ' + url + ' error.', response); }; $http.get(url).then(success, error); // get获得请求地址,then发起请求,请求成功执行第一个函数,失败执行第二个 });也可以直接将
success和error函数放入then中。angular.module('testApp') .controller('MainCtrl', function($scope, $http) { var url = 'http://localhost:9000/data/helloWorld.txt'; // http请求的地址 // get获得请求地址,then发起请求,请求成功执行第一个函数,失败执行第二个 $http.get(url) .then(function success(response) { // 请求成功 console.info('print success response', response); }, function error(response) { // 请求失败 console.error('$http -> ' + url + ' error.', response); }); });是的,你没有看错,我们直接将
success和error两个函数做为参数传给了$http.get(url).then()。就也是javascript与我们学过的传统语言最大的不同。在我们以前 的习惯中,我们只会将变量、对象做为参数传给另一个方法。但javascript中,函数也可以像参数一样传过去。 而且慢慢的我们发现,相对于提前定义,我们更愿意这样使用如图:
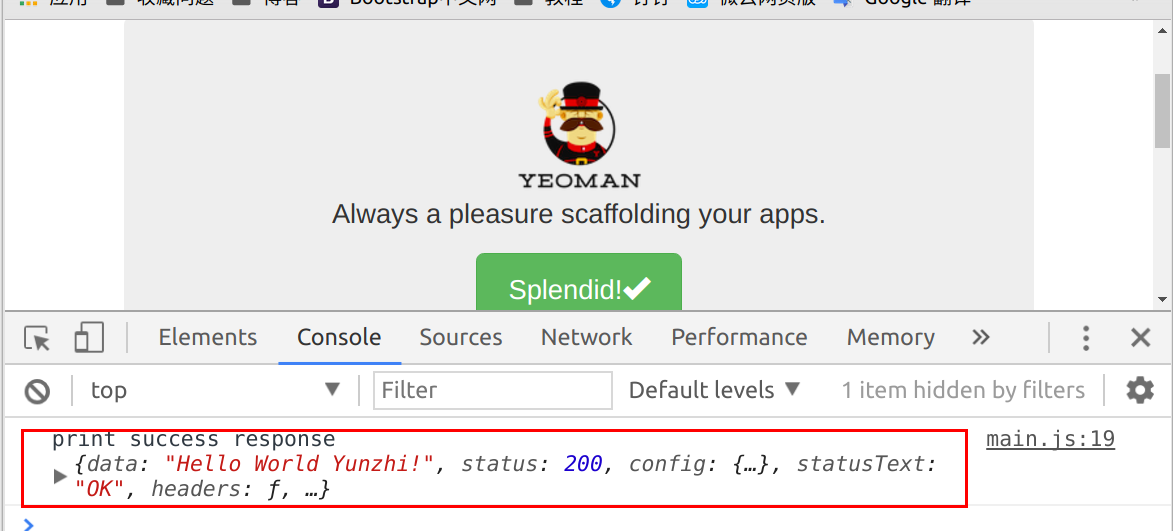
请求成功结果入图所示
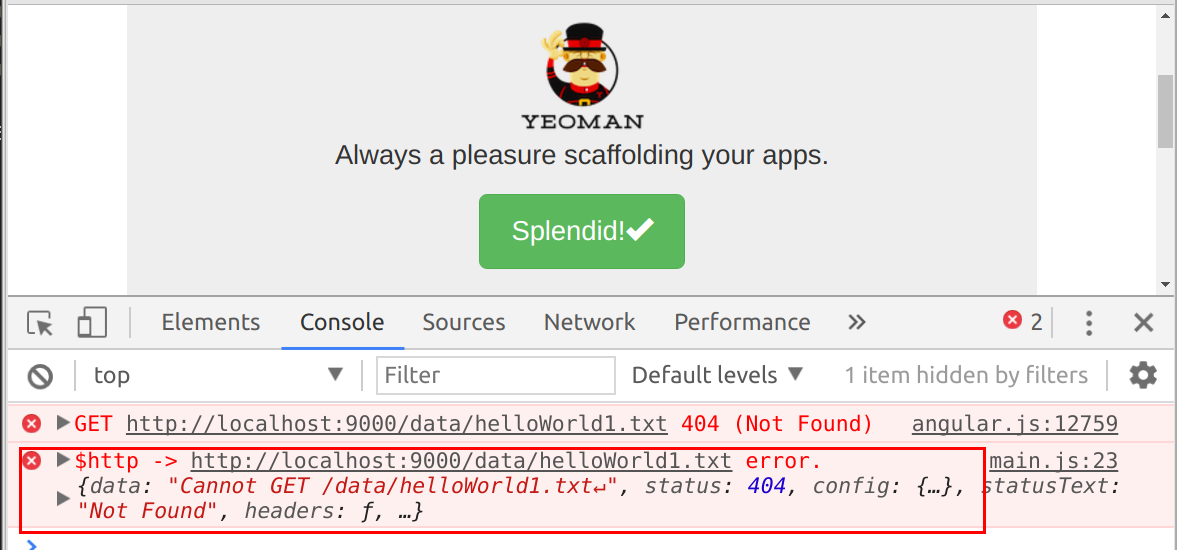
如果http请求错误如url写错
var url = 'http://localhost:9000/data/helloWorld1.txt'
则是执行了then的第二个方法(第二个报错)
下面将获取到的数据返回到v层
c层代码(main.js)
 angular.module('testApp')
    .controller('MainCtrl', function($scope, $http) {
        // http请求的网址
        var url = 'http://localhost:9000/data/helloWorld.txt';
        // get获得请求地址,then发起请求,请求成功执行第一个函数,失败执行第二个
        $http.get(url)
            .then(function success(response) { // 请求成功
                // 控制台打印
                console.info('print success response', response);
                // 返回v层
                $scope.helloWorld = response.data;
            }, function error(response) { // 请求失败
                console.error('$http -> ' + url + ' error.', response);
            });
    });
v层代码(mian.html)
 <div class="jumbotron">
    <h1> {{helloWorld}} </h1><!-- c层数据引入 -->
    <p class="lead">
        <img src="images/yeoman.png" alt="I'm Yeoman">
        <br> Always a pleasure scaffolding your apps.
    </p>
    <p><a class="btn btn-lg btn-success" ng-href="#/">Splendid!<span class="glyphicon glyphicon-ok"></span></a></p>
</div>
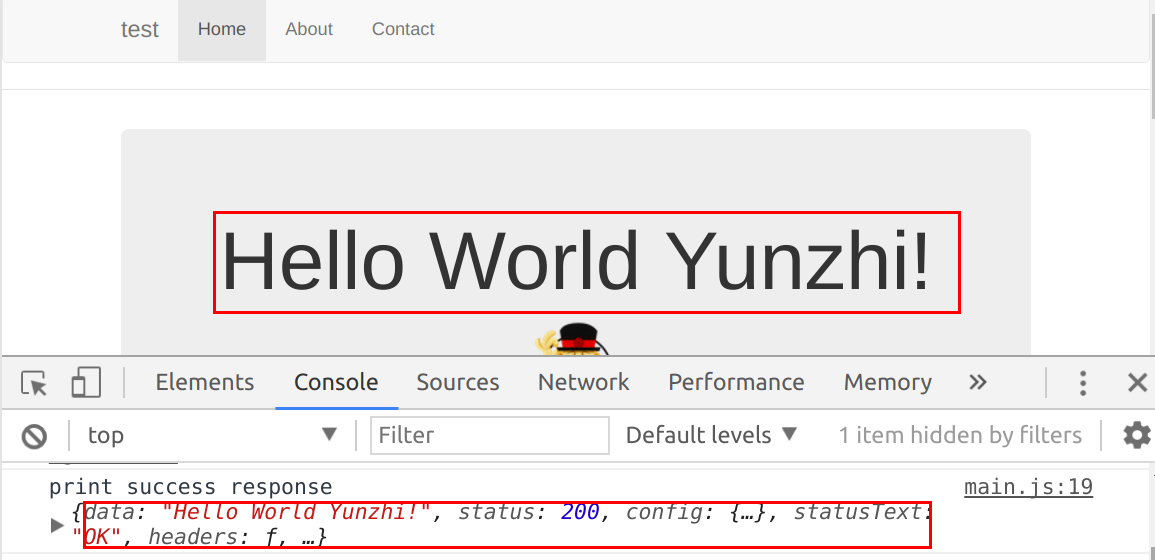
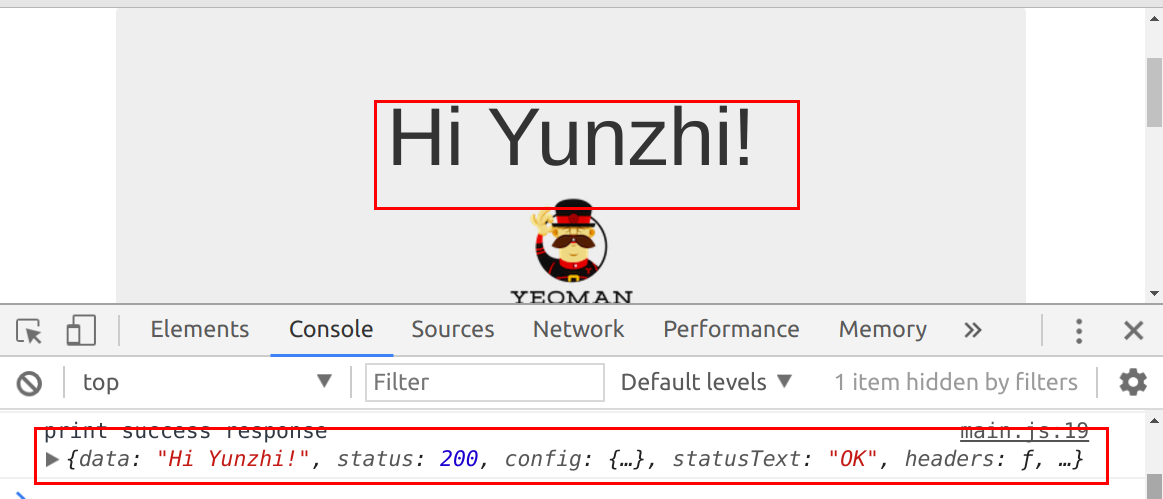
结果如图
下面我们改变helloWorld.txt里的数据将Hello World Yunzhi!改为Hi Yunzhi!,观察数据变化
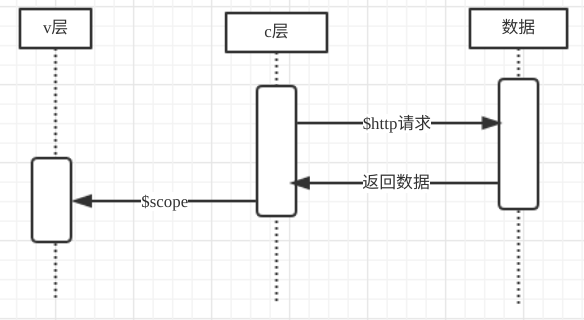
根据时序图理解一下本节的数据传输
作者:朱晨澍